How To Make Your Own Coloring Book: A Step-By-Step Guide For Parents, Teachers, Creators, And Mindfulness Use
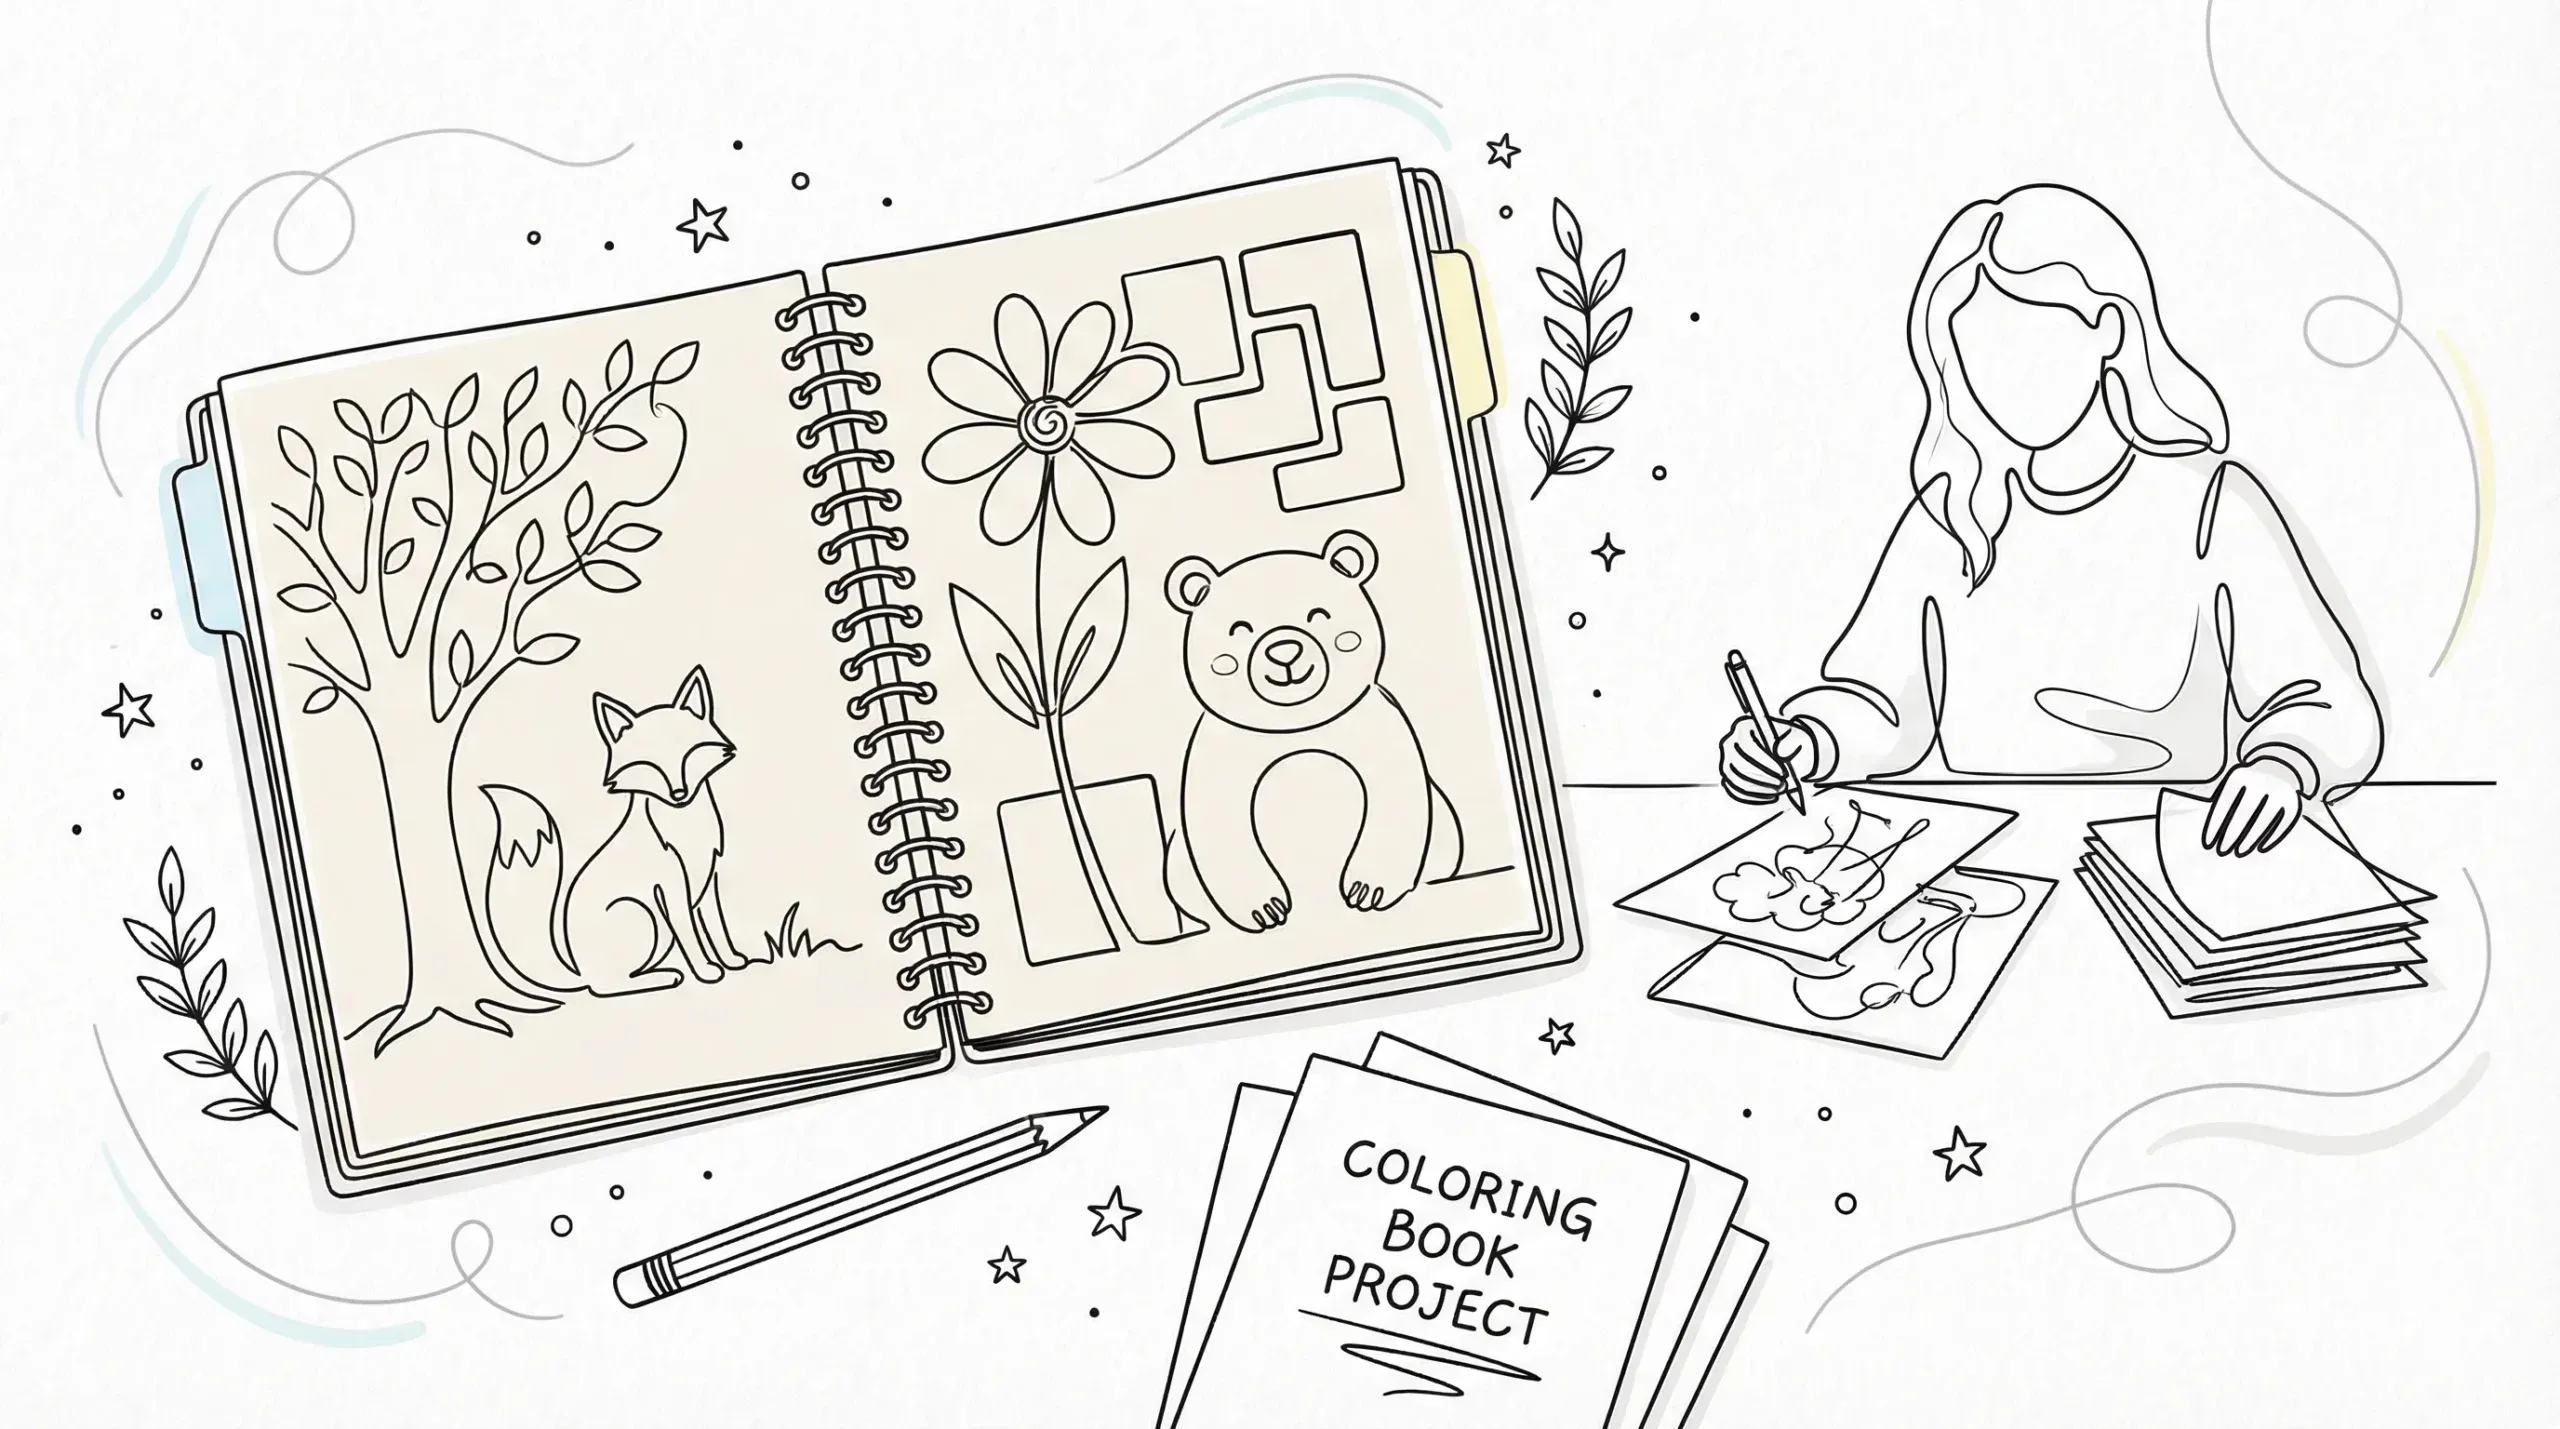
Make your own coloring book and you get something far more useful than a stack of random pages. You get a themed activity that fits your kids, students, clients, customers, or your own quiet time.
That matters because a good coloring book isn’t just cute. It can support classroom engagement, calm transitions, family bonding, event activities, gifts, or even a small product line. And the process is simpler than most people think.
In this guide, you’ll learn how to plan, create, edit, assemble, and print a coloring book step by step. Whether you’re a parent making rainy-day pages, a teacher building curriculum extras, or an artist testing a new product idea, you’ll leave with a book you can actually use.
Key Takeaways
- Making your own coloring book starts with choosing a clear purpose and audience to guide design and content decisions.
- Match the style and difficulty of coloring pages to the users’ age and needs for better engagement and satisfaction.
- Plan your coloring book’s theme, page count, and size before creation to ensure a cohesive and focused final product.
- Use consistent artwork style, including line thickness and detail level, to create a polished and professional-looking book.
- Test print pages early to check line quality and margin safety, improving the coloring experience before distribution.
- Consider the final use—home printing, professional print, or digital PDF—to choose appropriate printing and binding methods that suit your audience and goals.
Choose The Purpose And Audience For Your Coloring Book
If you want to make your own coloring book well, start here. Your purpose shapes every decision after this, art style, page count, wording, size, and printing method.
This section is for parents, teachers, therapists, church leaders, artists, and small business owners who want a book with a real job to do. It’s not for people who want to improvise page by page without a plan.
Pick A Clear Use Case: Kids’ Activities, Classrooms, Therapy, Church, Gifts, Or Selling
Choose one main use case first. You can always expand later, but trying to serve everyone at once usually creates a scattered book.
Common use cases include:
- Kids’ activities, which means simpler images, wider spaces, and familiar themes
- Classroom use, which means topic-based pages that reinforce a lesson or seasonal unit
- Therapy or counseling, which means calmer imagery and optional reflection prompts
- Church groups, which means scripture themes, holidays, or community events
- Gifts, which means personal photos, names, and inside jokes
- Selling, which means a clear niche, consistent design, and clean production standards
If you want speed, a tool like an ai coloring workflow can help you build a themed set faster, which means you spend more time refining the book and less time hunting for mismatched pages.
A few examples:
- A preschool teacher might make a 12-page alphabet animal book.
- A parent might make a vacation memory book from family photos.
- A counselor might create a calming patterns book with short breathing prompts.
- A craft seller might build a holiday book for Etsy or KDP.
Do this today: Write one sentence that finishes this prompt: “I want to make my own coloring book for ___ so they can ___.” Give yourself 10 minutes.
Match The Style And Difficulty To The People Who Will Use It
Once you know the audience, match the page design to their actual skill level. This sounds obvious, but it’s where many homemade books go wrong.
For young children, use:
- Bold outlines
- Large shapes
- Very little background detail
- Recognizable objects
For older kids, you can add scenes, patterns, and educational labels. For adults, more detail often works well, especially for mindfulness use, which means the coloring experience lasts longer and can feel more absorbing.
For therapy, stress relief, or church small groups, avoid pages that feel visually crowded unless the users specifically enjoy intricate designs. Research on coloring and stress reduction has found structured coloring activities may support calm and emotional regulation, which means simpler, intentional designs are often more helpful than chaotic ones.
You can also study what people build with custom coloring pages, which means you get concrete ideas before you commit to a full book.
A quick fit-check:
| Audience | Best Style | Avoid |
|---|---|---|
| Ages 3–6 | Big shapes, few details | Tiny spaces, dense backgrounds |
| Ages 7–10 | Simple scenes, themed sets | Overly abstract art |
| Teens | Trend-based, expressive themes | Babyish imagery |
| Adults | Florals, mindfulness, hobbies | Weak line art |
| Classrooms | Topic-linked pages | Random page mixes |
Start by choosing one sample page style for your reader and one style to avoid. Spend 15 minutes comparing both before you create the rest.
Plan Your Book Before You Make Any Pages
Planning saves you from remaking half the book later. If you want to make your own coloring book that feels finished, not cobbled together, give structure to the project before you open any design tool.
This is for readers who want a cohesive result. It’s not for someone making a one-page handout.
Decide On A Theme, Page Count, And Book Size
Pick a theme narrow enough to feel memorable. “Animals” is broad. “Woodland animals in cozy forest scenes” is much easier to build around.
Good theme examples:
- Classroom pumpkins with math facts
- Bible stories for early readers
- Family pets and favorite places
- Mindfulness mandalas and nature scenes
- Birthday party pages with the child’s name
Then choose your page count. A practical range is 12 to 24 interior pages for a first project, which means you can finish it without losing momentum.
Now choose size:
- 5 x 8 inches for portable gift books
- 8.5 x 11 inches for classroom and home printing
- 8.5 x 8.5 inches for a square, more giftable feel
If you’re building from scratch, a coloring page generator can speed up individual page creation, which means your planning stage becomes the real quality-control stage.
Do this today: Pick one theme, one trim size, and one target page count. Cap this step at 20 minutes.
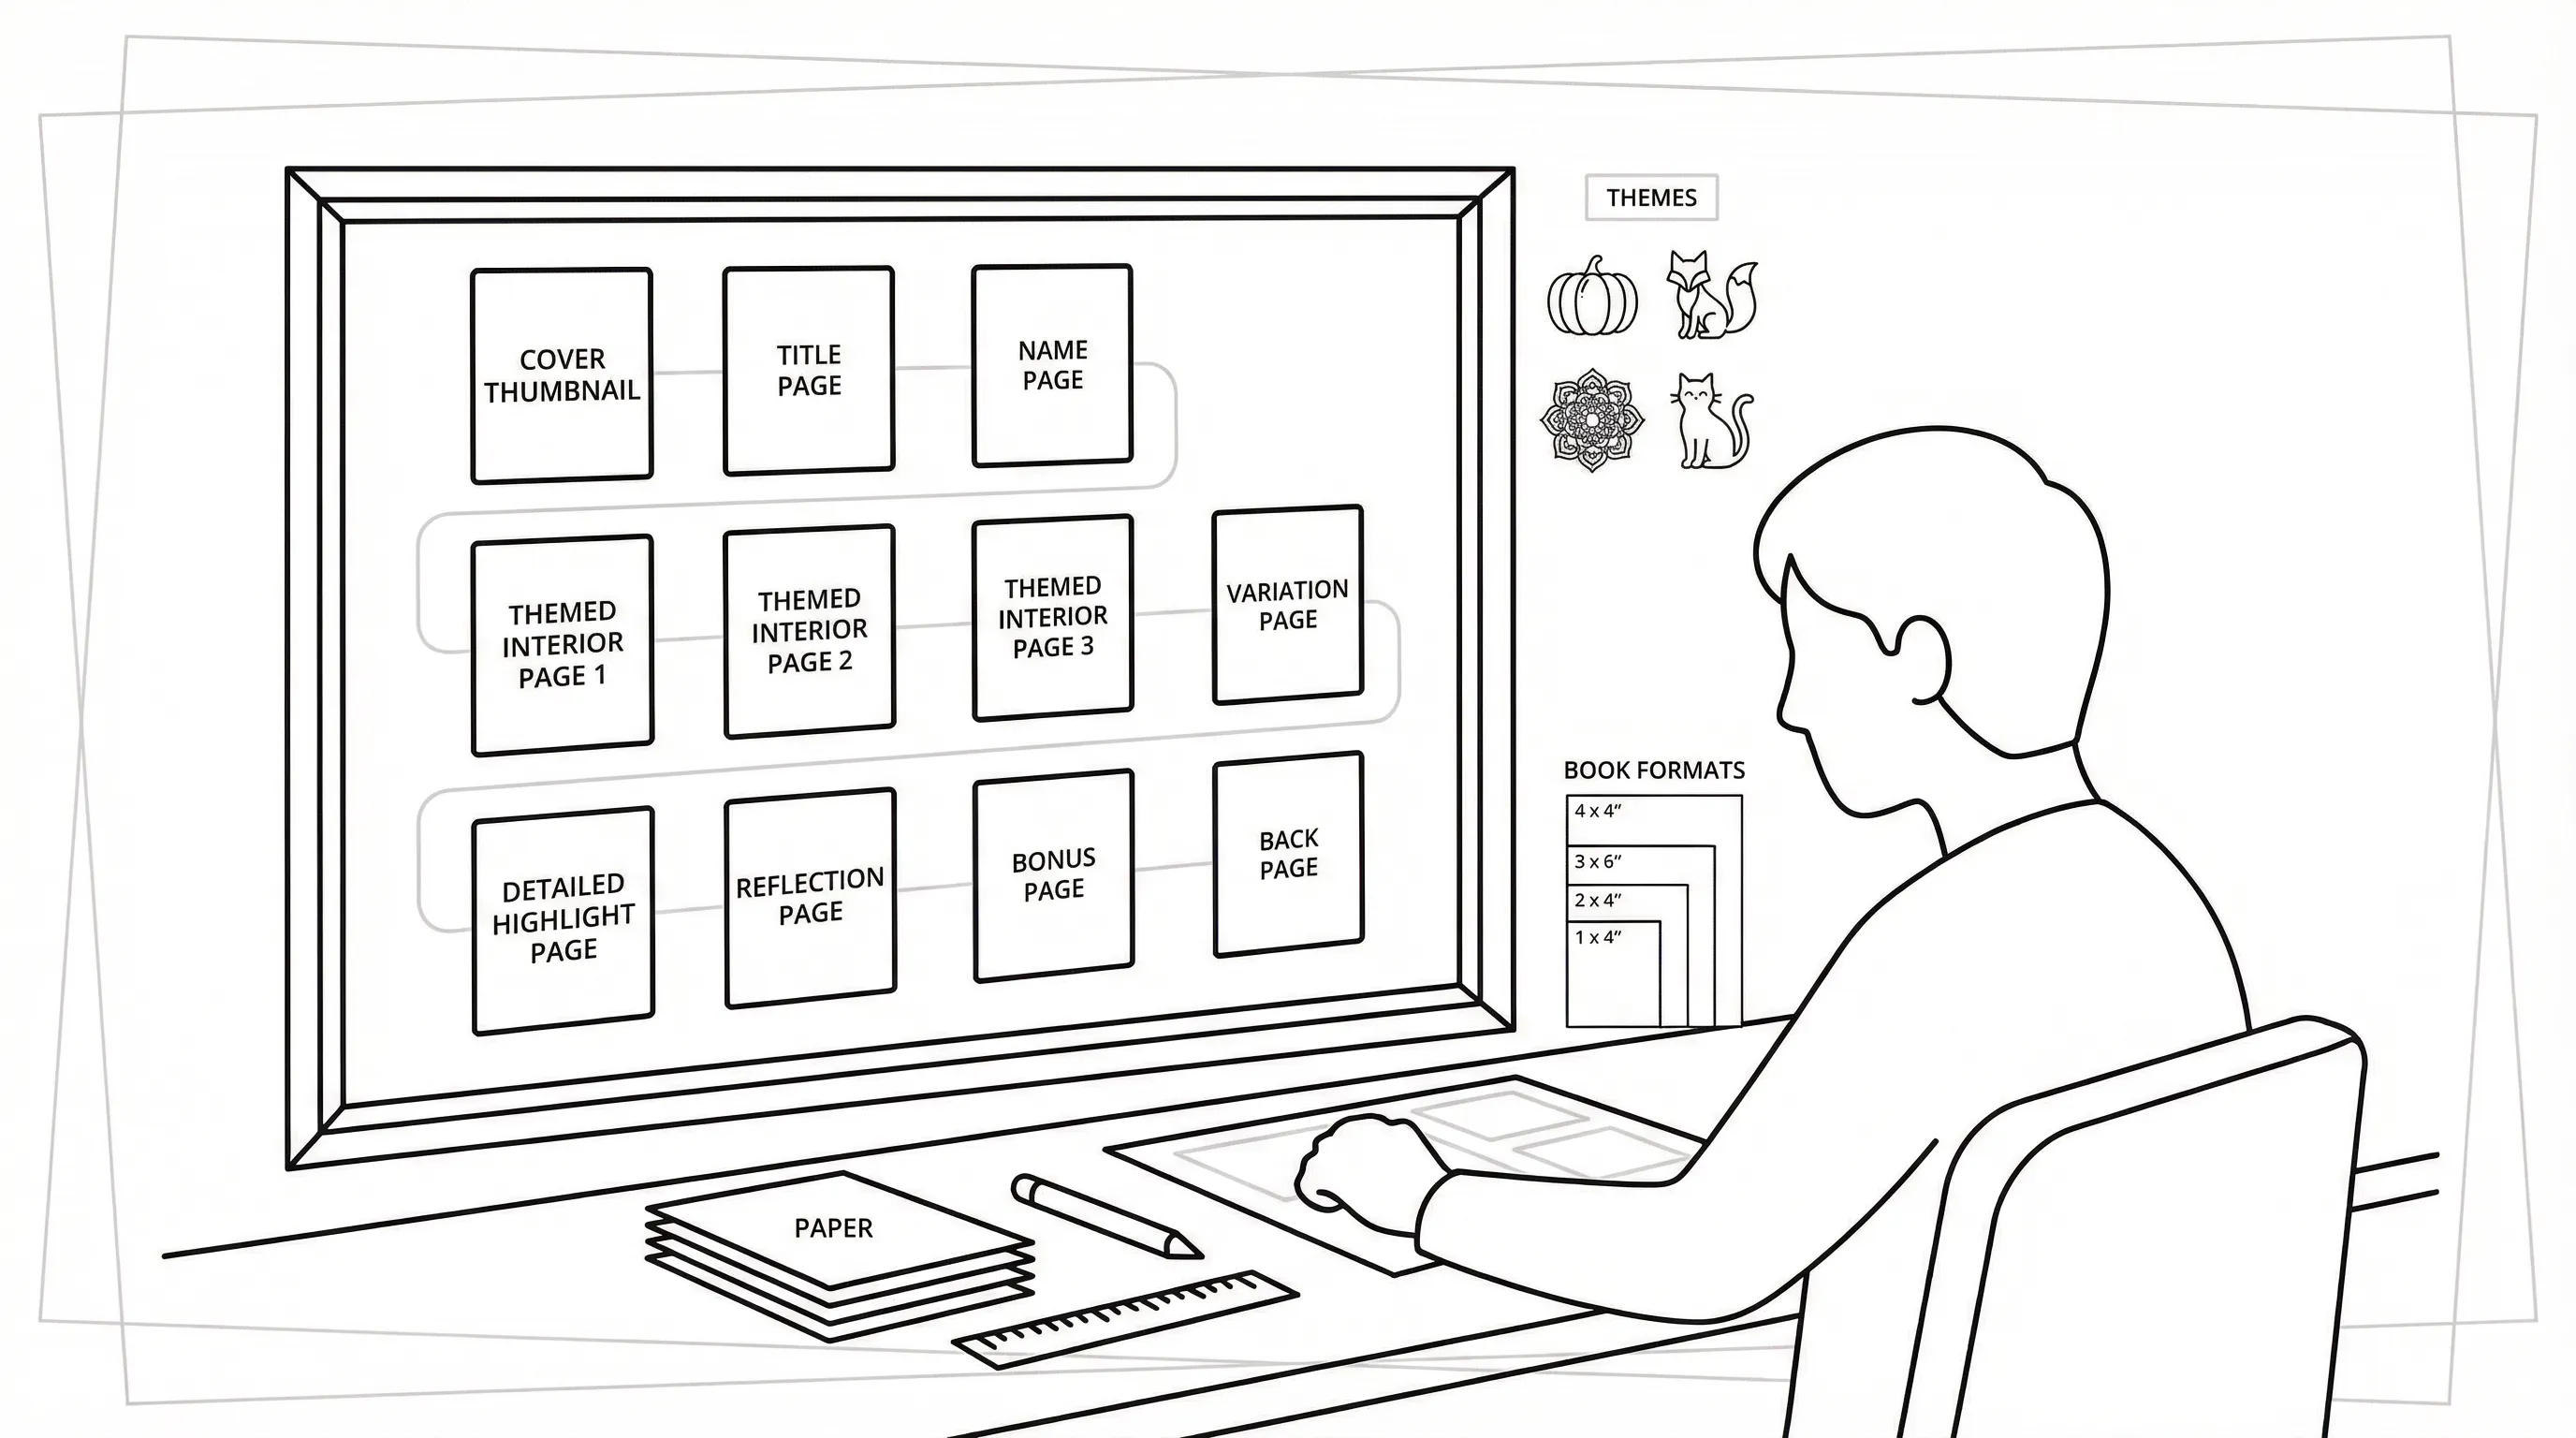
Outline Your Page Ideas So The Book Feels Cohesive
Before you make your own coloring book pages, list them in order. That outline becomes your map.
A simple page plan might look like this:
- Cover
- Title page
- Name page
- Easy intro page
- Main themed page 1
- Main themed page 2
- Main themed page 3
- Variation page
- Detailed highlight page
- Reflection or quote page
- Bonus page
- Back page
This keeps the book from feeling repetitive, which means users stay engaged instead of noticing they’re coloring the same composition again and again.
Think in sets. If your theme is “farm animals,” vary the viewpoint and activity:
- Barn scene
- Cow close-up
- Chickens in a coop
- Tractor field scene
- Farmer’s market page
For teachers and group leaders, tie pages to an arc: introduction, practice, reflection, celebration. That structure works especially well in themed units and seasonal events.
Try this: Draft your full page list in a notes app or on paper before making page one. Give it 15 minutes, then remove any page idea that doesn’t support the theme.
Create Your Coloring Pages From Prompts, Photos, Or Sketches
Now you’re at the build stage. When you make your own coloring book, this is where your idea turns into actual printable pages.
This section is for beginners and busy creators who want clean results fast. It’s not for fine-art illustrators looking for a fully manual drawing tutorial.
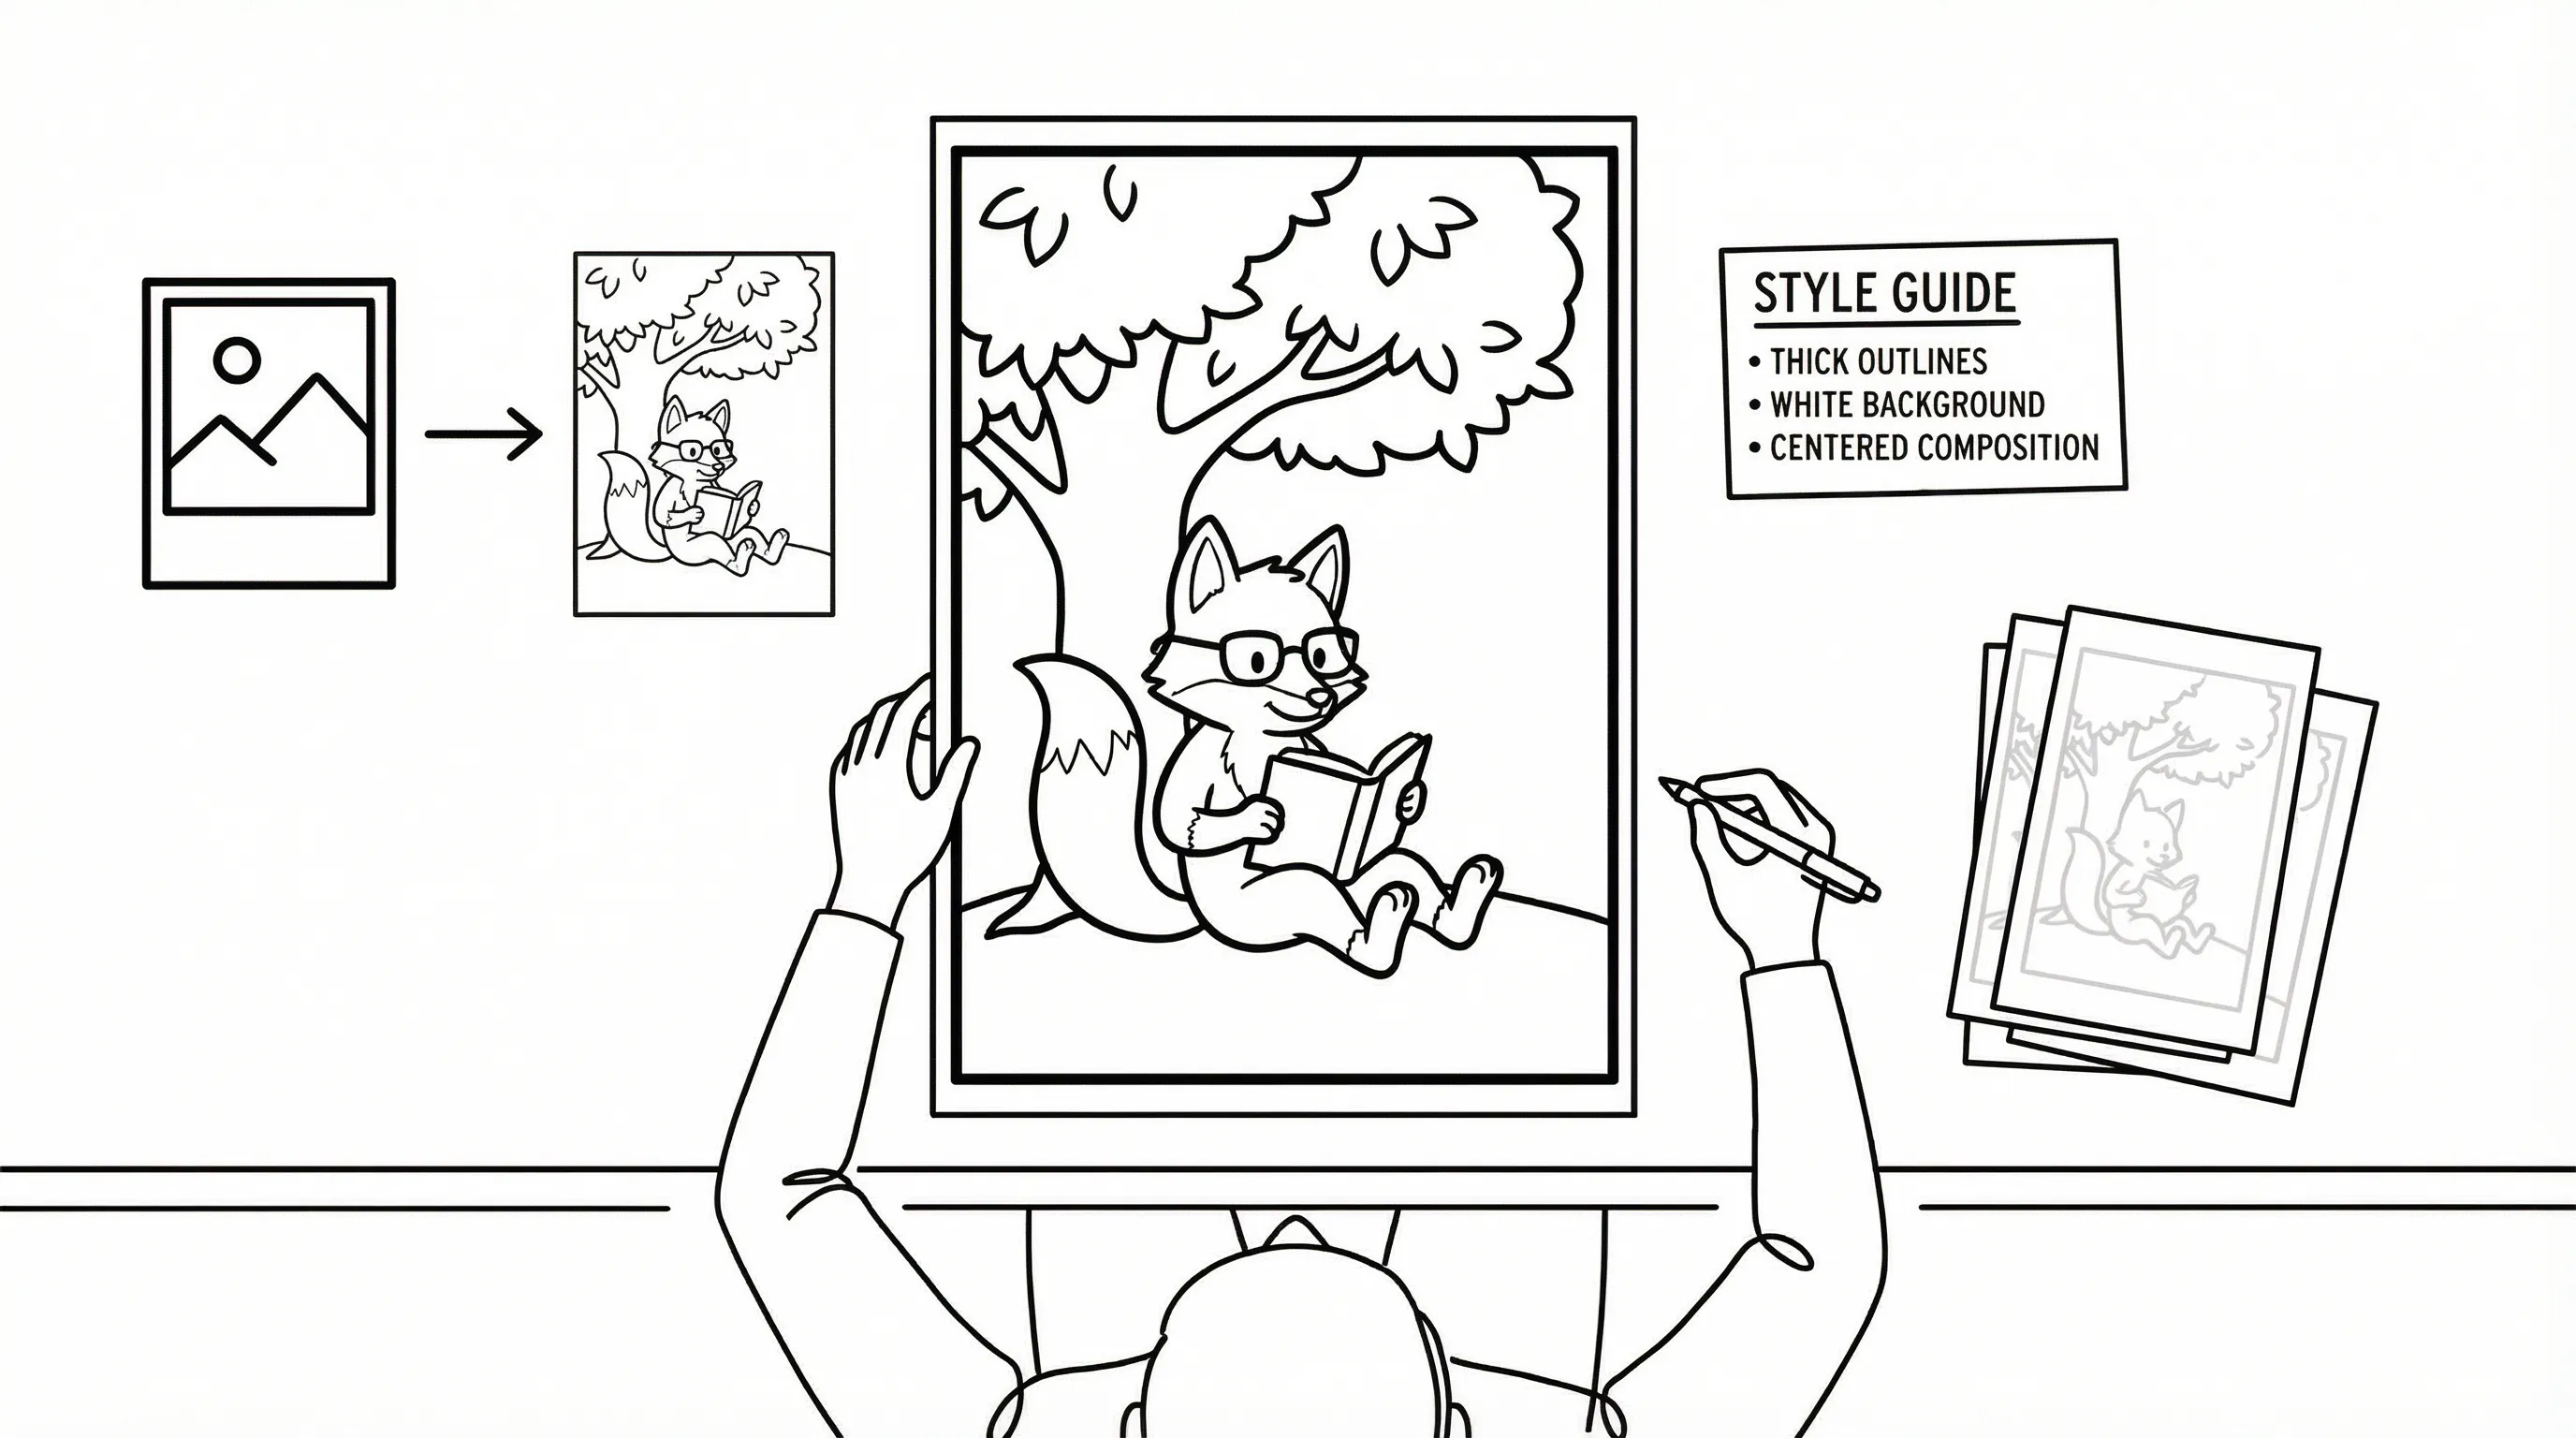
Write Better Prompts For Clean, Printable Line Art
If you’re using AI tools, the prompt matters a lot. Vague prompts create muddy pages. Clear prompts create cleaner line art, which means less editing later.
Useful prompt ingredients:
- Main subject
- Simple setting
- Style direction
- Age level
- Printing intent
A better prompt looks like this:
“A happy fox reading under a tree, bold clean black outlines, simple background, large open spaces, printable coloring page for ages 5–7.”
Try adding phrases like:
- clean black and white line art
- no shading
- white background
- thick outlines
- printable coloring page
If you use ai coloring for a full themed set, which means you can keep production moving while still aiming for KDP-ready consistency.
Bad prompt: “Cute animal page.”
Better prompt: “Cute baby elephant at the zoo, bold printable outlines, minimal background, no grayscale, coloring page for preschoolers.”
Start by writing three prompts for the same theme at three difficulty levels. Spend 15 minutes and keep only the strongest one.
Turn Personal Photos Or Drawings Into Coloring Pages
Photos and sketches make a coloring book feel personal. That’s especially useful for gifts, family keepsakes, church events, and custom client work.
You can convert:
- Family photos
- Pet portraits
- Student drawings
- Church buildings
- Vacation pictures
- Hand sketches
Using a photo to coloring page process can turn meaningful images into printable outlines, which means your book feels unique instead of generic.
A few tips help a lot:
- Choose photos with clear subjects
- Avoid very dark or cluttered backgrounds
- Crop tightly around the main focus
- Simplify details after conversion if needed
If you want a more personal gift version, photo to coloring page tools can help transform family memories into a custom set, which means grandparents, kids, or event guests get something they’re more likely to keep.
Do this today: Pick one strong photo and convert it into a draft page. Limit yourself to 10 minutes so you actually test the process.
Keep The Artwork Consistent Across The Whole Book
Consistency is what makes a homemade project look polished. Without it, your book can feel like a random packet.
Keep these elements steady:
- Line thickness
- Detail level
- Character style
- Page framing
- Background density
One easy trick is to create a mini style guide. Write down a few rules such as: “bold outlines, white background, medium detail, no grayscale, centered composition.” That gives you a repeatable standard, which means each page belongs to the same book.
For classroom or seasonal sets, you can also make one page first, test it, and then build the remaining pages from that template.
Try this: Choose one finished page as your “model page,” then compare every new page against it for 5 minutes before moving on.
Edit And Prepare Each Page For Printing

Editing is where a decent page becomes a usable one. If you want to make your own coloring book that prints cleanly, don’t skip this stage.
This advice is for anyone printing at home, gifting pages, or selling PDFs. It’s not optional if quality matters.
Check Line Quality, Background Cleanup, And Page Margins
Print-friendly pages need crisp lines and enough white space. Thin gray lines may look fine on screen but disappear on paper, which means the final coloring experience becomes frustrating.
Review every page for:
- Dark, closed outlines
- No accidental gray shading
- No messy background artifacts
- Safe margins for trimming or binding
- Single-sided friendliness if markers might bleed through
A practical margin target is at least 0.5 inches on the binding side. That extra room matters, which means users can color near the edge without fighting the spine.
If you want examples of quick page-building workflows for coloring pages, use them to compare line strength and page simplicity before finalizing your set.
Do this today: Print one draft page in black and white and mark every faint line with a pen. Spend 10 minutes fixing only those issues first.
Add Simple Extras Like Title Pages, Name Pages, Or Reflection Prompts
Small extras add value without much extra work. They also make your coloring book feel intentional, which means it works better as a gift, classroom packet, or printable product.
Useful extras include:
- A title page
- A “This book belongs to” page
- A short copyright or usage page
- Simple reflection prompts
- A color test page
For mindfulness users, prompts like “What helped you feel calm today?” or “Name three things you noticed while coloring” can support reflection. For classrooms, add “Circle your favorite detail” or “Write one fact you learned.”
If you include these extras, keep them simple. Too much text breaks the rhythm of the book.
Start by adding one title page and one name page to your draft file. Give yourself 15 minutes and stop before you overdesign it.
Assemble Your Coloring Book In The Right Order
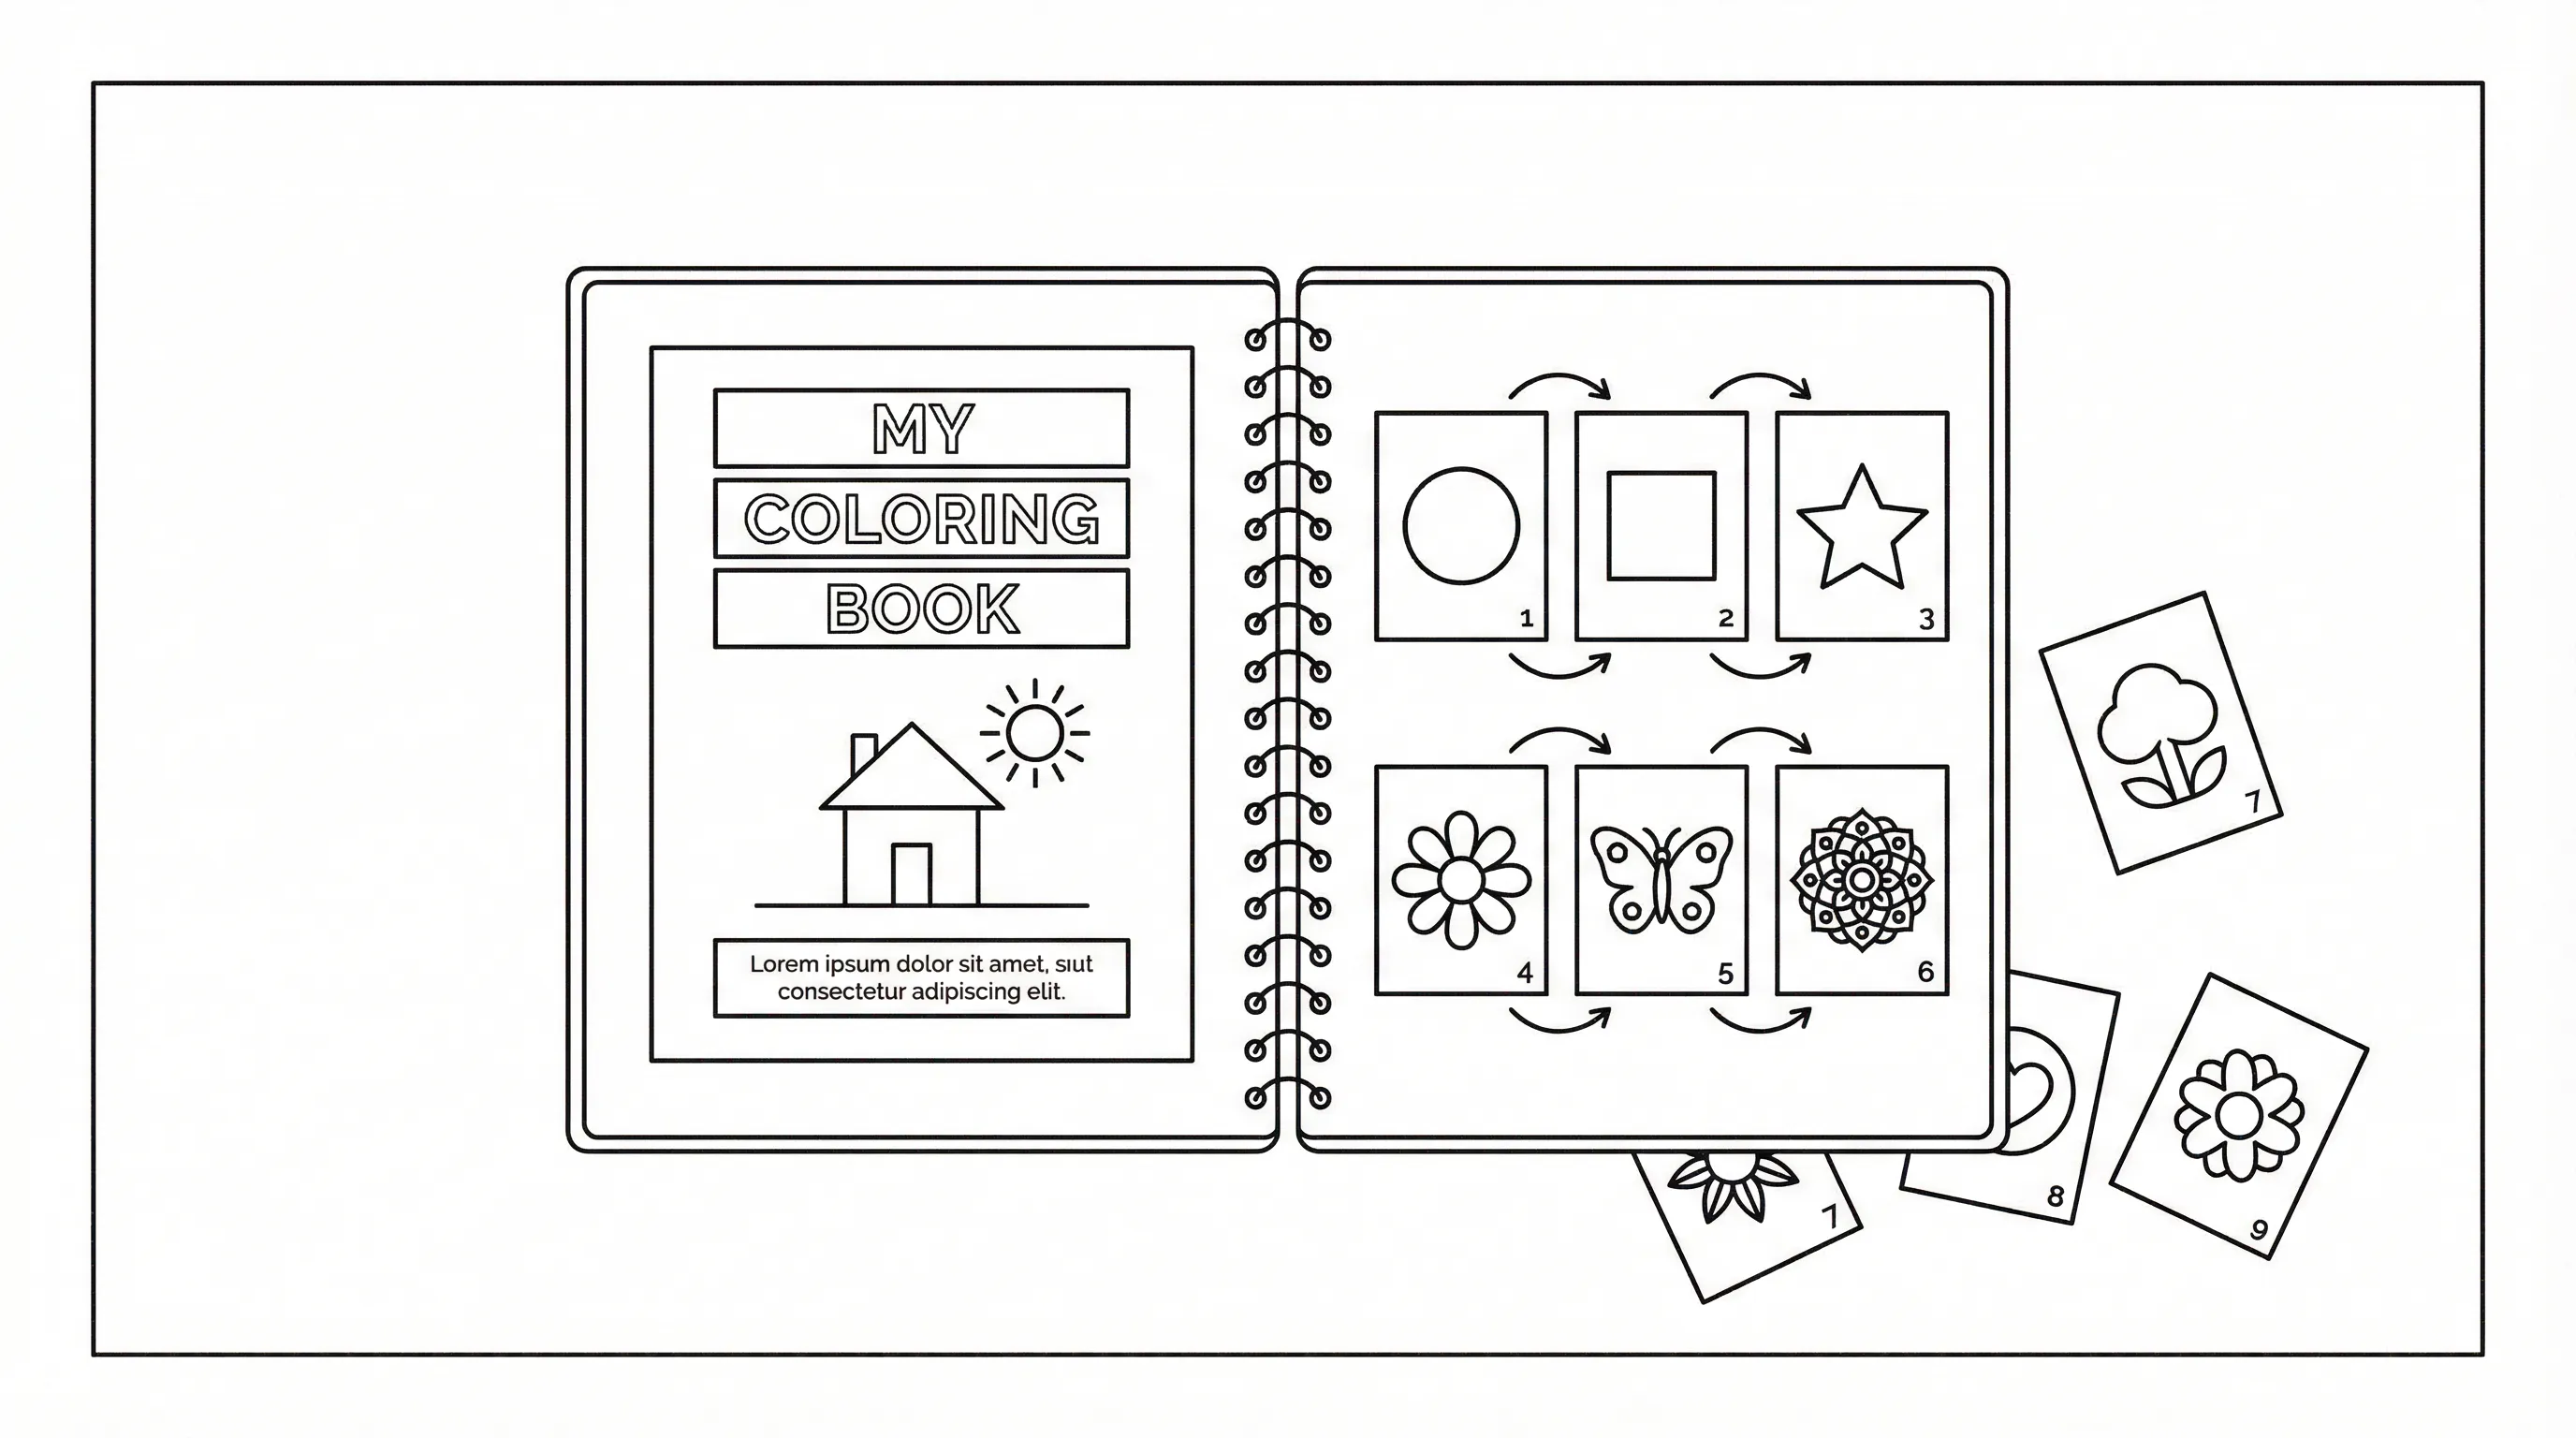
Order matters more than people expect. When you make your own coloring book, page sequence affects how usable, age-appropriate, and satisfying it feels.
This section is for anyone building a real booklet or PDF set. It’s less important for one-off pages.
Create A Cover That Matches The Theme
Your cover should tell people what kind of coloring experience they’re getting. It doesn’t need fancy effects. It needs clarity.
A strong cover usually includes:
- The book title
- A representative image
- The intended audience or theme
- Clean, readable typography
If the inside pages are simple, don’t make the cover highly detailed. That mismatch can confuse people, which means the product feels less trustworthy.
For gift books or printable products, use one of your strongest interior concepts on the cover so expectations match reality.
Do this today: Make a simple cover with one image, one title, and one subtitle. Set a 20-minute timer.
Arrange Pages For Flow, Variety, And Age Appropriateness
Start with easier pages and build toward more detailed ones. That creates momentum, which means users gain confidence before reaching the more intricate spreads.
A smart sequence often looks like this:
- Welcome or name page
- 2–3 easier pages
- Core themed pages
- A few more detailed pages
- Reflection, bonus, or seasonal page at the end
Also vary the composition. Don’t place three dense full-page scenes back to back. Mix close-ups, wide scenes, pattern pages, and lighter pages.
If you’re planning to sell, examples of real coloring pages products can help you spot what makes a book feel complete, which means you can structure yours with more confidence.
Try this: Lay out thumbnails of every page on a table or screen and reorder them once for difficulty and once for variety. Spend 15 minutes on each pass.
Print, Bind, Or Export A Digital Version
Now choose how people will actually use the book. If you want to make your own coloring book practical, the production method should fit the goal, not the other way around.
This is for home users, educators, and sellers. It’s not just about printing: it’s about delivery.
Choose Home Printing, Professional Printing, Or PDF Delivery
Each option has trade-offs.
Home printing works well for:
- Family activities
- Small classes
- Church groups
- Quick gifts
Use single-sided printing when possible, especially for markers, which means bleed-through won’t ruin the next page.
Professional printing makes sense for:
- Events
- Client gifts
- Retail products
- Higher-volume classroom use
PDF delivery works best for:
- Etsy-style digital products
- Email freebies
- Membership resources
- Print-at-home customers
If you’re building a book to publish, ai coloring workflows can support KDP-ready exports, which means you can move from idea to publication with less manual cleanup.
Do this today: Decide on one delivery format only for version one. Spend 5 minutes choosing between home print, pro print, or PDF.
Pick A Binding Option That Fits Your Budget And Goal
Binding changes the experience of the book. A stapled booklet feels casual and affordable. Spiral binding lies flatter, which means coloring is easier near the center fold.
Common options:
- Stapled booklet for short books and low cost
- Comb or spiral binding for classrooms and repeated use
- Perfect binding for retail-style books
- Loose PDF pages for digital customers
For a simple home project, fold pages in half and use a long-reach stapler through the center. For more than a few copies, local print shops can often bind them cheaply.
Think about who will use it:
- Kids often do better with spiral or staple-bound books.
- Adults using markers may prefer single sheets or perforated formats.
- Teachers often want easy photocopying or digital PDF access.
Start by binding one rough prototype using the cheapest method available. Give yourself 30 minutes and learn from the physical result.
Use Your Coloring Book In Real-World Settings
A coloring book becomes valuable when it gets used. If you make your own coloring book, think beyond creation and into the actual setting.
This section is for educators, families, counselors, ministries, artists, and small business owners who want a clear use plan.
Ideas For Classrooms, Family Time, Counseling, Events, And Church Groups
In classrooms, coloring books can support transitions, early finishers, seasonal units, and reflection stations. That flexibility matters, which means one book can serve more than one routine.
Try these real-world uses:
- Classrooms: morning work, history tie-ins, holiday stations, sub plans
- Family time: travel activities, birthday keepsakes, rainy-day projects
- Counseling: grounding tools, waiting-room materials, session reflection
- Events: party favors, wedding kid tables, community festivals
- Church groups: VBS, sermon notes for kids, holiday events, small groups
A free themed set of coloring pages can also show how seasonal books work in group settings, which means you can test the format before building a larger series.
For mindfulness use, coloring may help some adults settle attention and reduce mental noise. It’s not a replacement for care, of course, but it can be a practical support tool.
Do this today: Choose one setting where your book will be used this week and write down exactly when, where, and by whom. Give it 5 minutes.
Ways Small Business Owners And Artists Can Package Or Sell Their Book
If you want to sell what you make, start narrow. A specific audience converts better than a broad one, which means “farm coloring book for ages 4–7” often beats “fun coloring book for everyone.”
You can package your book as:
- A printable PDF
- A physical booklet
- A personalized gift product
- A party pack
- A classroom bundle
- A KDP or marketplace listing
A related option is offering finished-color previews with ai coloring, which means customers can picture the end result before they buy.
You can also bundle extras:
- Crayon packs
- Branded sleeves
- Lesson prompts
- Seasonal add-ons
- Name personalization
This is a good fit for artists, teachers selling resources, and event businesses. It’s not a great fit if you haven’t tested your pages with real users yet.
Try this: Create one sample listing with a mock cover, 3 interior previews, and a one-sentence audience promise. Spend 25 minutes on the draft.
Avoid Common Mistakes And Improve Your Next Version
Your first version does not need to be perfect. But if you want to make your own coloring book better over time, learn what usually goes wrong.
This section is for anyone revising a draft before sharing, gifting, or selling.
Fix Pages That Are Too Busy, Too Faint, Or Hard To Color
The most common issue is overcomplication. A page can look impressive on screen and still be annoying to color.
Warning signs:
- Tiny shapes with no breathing room
- Faint or broken lines
- Heavy textures that confuse the subject
- Background clutter competing with the main image
The fix is usually subtraction. Remove unnecessary details, darken the outlines, and enlarge the main shapes, which means the page becomes more enjoyable for the intended user.
If a page feels off, ask:
- Can I identify the subject in 2 seconds?
- Are there enough open spaces to color comfortably?
- Does this match the age and skill level?
Do this today: Pick your weakest page and cut 20% of the detail. Spend 10 minutes simplifying it.
Test Print Before You Share, Gift, Or Sell
Always test print. Always.
Screen previews hide real problems such as weak contrast, awkward cropping, and cramped margins. A test print reveals those issues fast, which means you can fix them before someone else does.
Print and review for:
- Line darkness
- Page alignment
- Margin safety
- Coloring comfort
- Cover readability
If possible, have one real user test it. A child, student, friend, or customer will notice things you miss.
Use a simple feedback prompt:
- Which page did you like most?
- Which page felt hardest to color?
- Was anything confusing?
Start by printing three representative pages and coloring part of each one yourself. Give this 20 minutes before you share the book with anyone.
Conclusion: Make A Coloring Book You’ll Actually Use
When you make your own coloring book, the goal isn’t just to finish a file. It’s to create something people will reach for, at the kitchen table, in a classroom bin, at a church event, in a counseling office, or as a thoughtful gift.
Keep it simple. Choose a clear purpose, plan the book before you build it, create consistent pages, test print early, and match the final format to how it’ll be used.
If this is your first one, don’t aim for perfect. Aim for useful. Then make version two smarter, cleaner, and more focused. Start now: choose your audience, list 12 page ideas, and build your first sample page today.
Frequently Asked Questions about Making Your Own Coloring Book
What is the first step to make your own coloring book?
Start by choosing a clear purpose and target audience for your coloring book, such as kids’ activities, classroom use, therapy, or selling. This guides art style, page count, and printing options for a cohesive final product.
How can I create consistent coloring pages for my book?
Maintain consistent line thickness, detail level, and style across all pages. Using a style guide or creating a model page helps keep your homemade coloring book polished and professional-looking.
Can I use personal photos to make coloring pages?
Yes, converting personal photos or sketches into line art adds a unique, personalized touch. Choose clear photos with simple backgrounds and use photo to coloring page tools for printable outlines that enrich gifts or client projects.
What are the best printing options for a homemade coloring book?
Choose printing based on your book’s use: home printing is suitable for family or small groups; professional printing fits events or retail products; digital PDFs work well for downloadable products. Single-sided printing helps prevent marker bleed-through.
How detailed should the coloring pages be for different age groups?
For ages 3–6, use bold outlines and large shapes with minimal detail; ages 7–10 can handle simple scenes and educational labels; adults enjoy detailed patterns and mindfulness themes. Match complexity to user skills for optimal engagement.
What are some practical uses for a self-made coloring book?
Use your coloring book in classrooms for engagement and seasonal lessons, family time for bonding, therapy for stress relief, church groups for activities, events for favors, or as products to sell online. Clear use cases maximize the book’s value and impact.